
Make 3D model from photos has become an essential instrument in a variety of fields, including gaming, animation, architecture, and engineering. It allows for the building of digital representations of bodily items, which can then be tested, modified, and visualized in detail. One of the most interesting breakthroughs in 3D modeling is the growing capacity to make 3D model from photos. This refuge, known as photogrammetry, provides a further approachable and efficient system of catching the fine characteristics of actual items.
The rising acceptance of make 3D model from photos Photogrammetry is a novel method that has become quite popular in recent years. In order to make 3D model from photos, this technique entails taking several pictures of a topic from various perspectives and processing them using specialist software. With its many benefits over conventional techniques, photogrammetry has completely changed the way we approach 3D models.
With any luck, this tutorial will help both novices and aficionados alike understand how to make 3D model from photos. Clear instructions and helpful hints will be provided as we take you step-by-step through the procedure. This book will provide you the skills and self-assurance you need to start your 3D modeling adventure, regardless matter whether you’re a hobbyist trying to make 3d model from photos fun or a professional eager to explore new creative avenues.

Understanding the Basics: Make 3D Model from Photos
Definition of 3D Modeling and Its Applications
Three-dimensional modeling, as we just discussed, is the process of turning an item into a digital representation. A thorough grasp of the object’s form, shape, and size may be obtained by seeing and adjusting its digital reproduction from different perspectives.
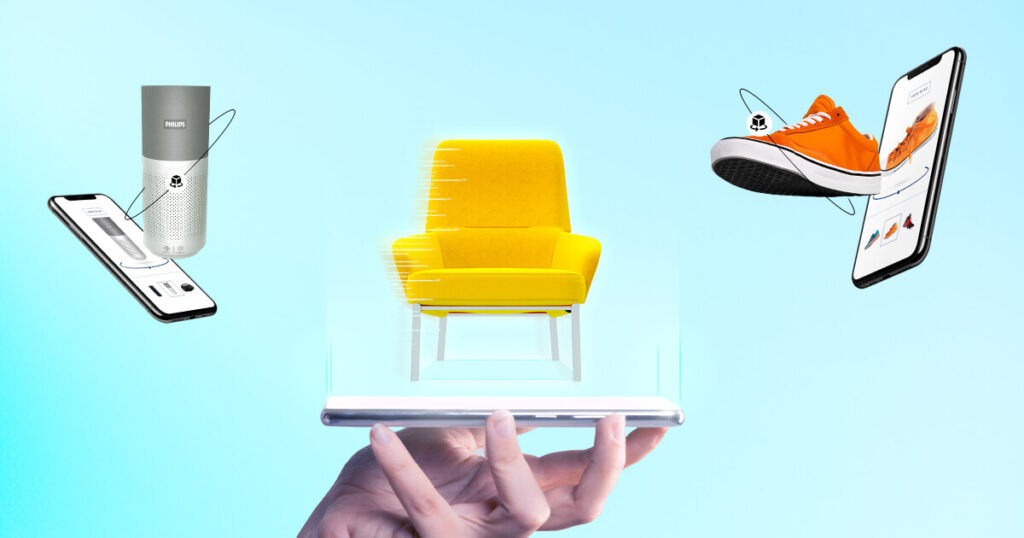
3D modeling has a wide range of uses. Apart from the above listed industries, it’s also utilized in:
- Fashion: Designing digital apparel and accessories
- Automotive: Creating and illustrating vehicle models
- Aerospace: Spacecraft and aircraft modeling
- Education: Producing engaging educational resources
- Entertainment: Creating props and special effects
Different Methods of 3D Modeling: Manual vs. Automated
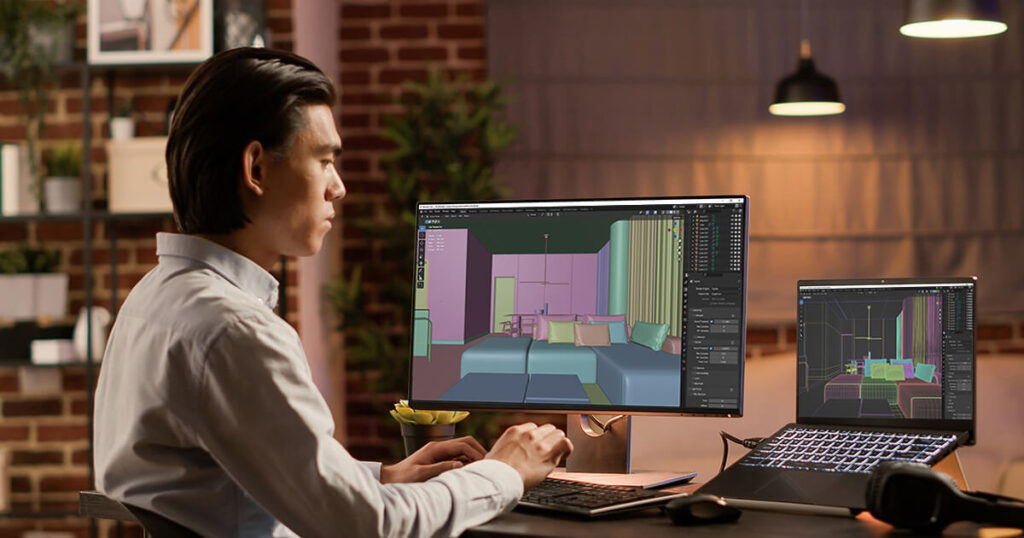
In the past, 3D models were manually created using custom software. . Using precise manipulation of vertices, edges, and polygons, artists and designers would create models. This approach is labor-intensive and highly skilled, yet it gives total creative control.
Photogrammetry is one of the automated techniques that have been popular in recent years. This method make 3D model from photos by taking many pictures of an object. In particular, it’s a quicker and frequently more accurate method for collecting detailed features on complicated things.
Importance of Choosing the Right Software for Photo-Based Modeling
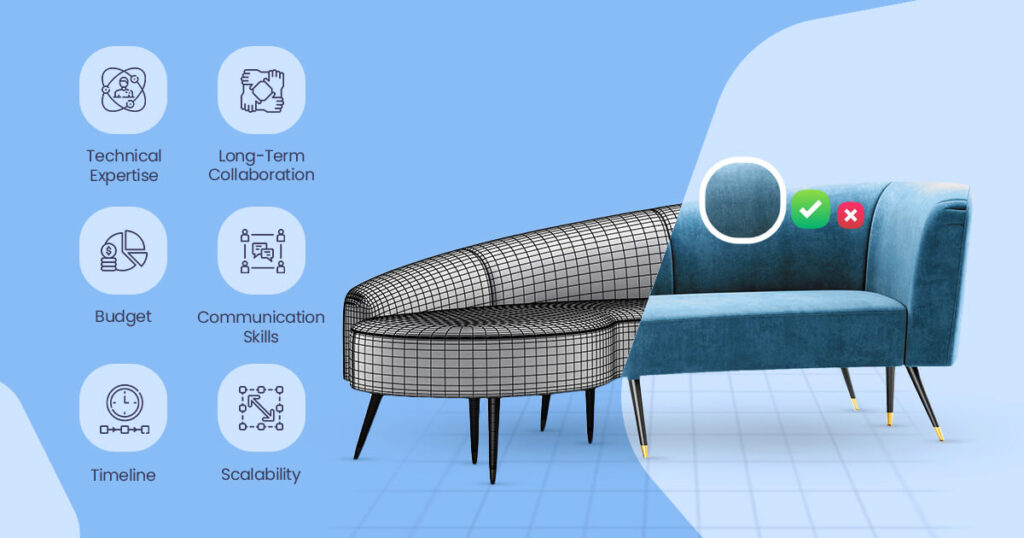
The software selection used determines how well a photo-based modeling approach works. There are differences in the features, functionality, and usability of software packages. Keep the following in mind while selecting software:
- Ease of use: Choose software with an easy-to-use interface if you’re just starting off.
- Features: Make that the program can do basic tasks including model building, texture mapping, point cloud generation, picture import, and alignment.
- Compatibility: Verify whether the program works with the hardware and operating system you have.
- Price: Analyze the software’s price to ensure it fits within your means.
Once you grasp these basic ideas, you’ll be ready to explore the realm of photograph-based 3D modeling.

Preparing to Make 3D Model from Photos
Choosing the Best Photos: Hints for Taking Appropriate Pictures
The caliber of your source photos has a major impact on the caliber of your 3D model. Here are some pointers for taking appropriate photos:
- Coverage: Make sure you take pictures of the entire thing from various perspectives. For greater effects, think about overlapping your shots.
- Detail: Take great care to capture subtle details and textures. If necessary, get up close photos of particular regions.
- Lighting: Avoid harsh shadows and bright lighting. Maintaining uniform illumination is essential for precise 3D reconstruction.
- Background: To minimize distractions, choose a simple or neutral background.
- File format: Select an image format with high resolution, such TIFF or RAW, to preserve picture quality.
Importance of Lighting and Angles in Photography
High-quality make 3D model from photos are mostly dependent on lighting and angle.
- Lighting: Precise texture mapping and depth perception depend on uniform and consistent illumination. Avoid using a mix of artificial and natural light to avoid uneven lighting conditions.
- Angles: Capture images from various angles, including top, bottom, front, back, and sides. Images that overlap will aid the program in precisely recreating the contour of the item.
Techniques for Ensuring Image Quality and Consistency
To achieve optimal results, consider these techniques:
- Stabilize your camera: To avoid camera shaking, use a tripod or a level surface.
- Image resolution: A 3D model with higher quality photographs has greater detail.
- Focus: Verify that every picture has precise focus.
- Picture format: To maintain picture quality, use a lossless image format like TIFF or RAW.
- Image consistency: Throughout the photo session, keep the exposure and white balance of your camera at the same levels.
You may greatly enhance the quality of your source photographs and raise the likelihood of producing a precise and comprehensive 3D model by adhering to these recommendations.
Step-by-Step Process to Make a 3D Model from Photos
Importing Images into 3D Modeling Software
To make 3D model from photos, you must first import your images into the appropriate 3D modeling program. Often chosen choices are:
- Photogrammetry software: These applications are made especially for this purpose and frequently come with sophisticated functionality.
- Photogrammetry-capable 3D modeling software: A few all-inclusive 3D software packages come with photogrammetry features.
After selecting your program, open the project and import the ready-made pictures. You may usually find settings in the program to manage and organize your image set.
Utilizing Photogrammetry Techniques to Generate Make 3D Model from Photos
The magic happens right here, in the Centre of the process. Using the supplied photographs as a guide, the photogrammetry program will create a point cloud by finding similar points. A group of data points in space that together depict an object’s surface is called a point cloud.
Next, based on the point cloud, the program employs algorithms to produce a 3D model. Basically, this mesh specifies the geometry of the thing like a digital frame work.
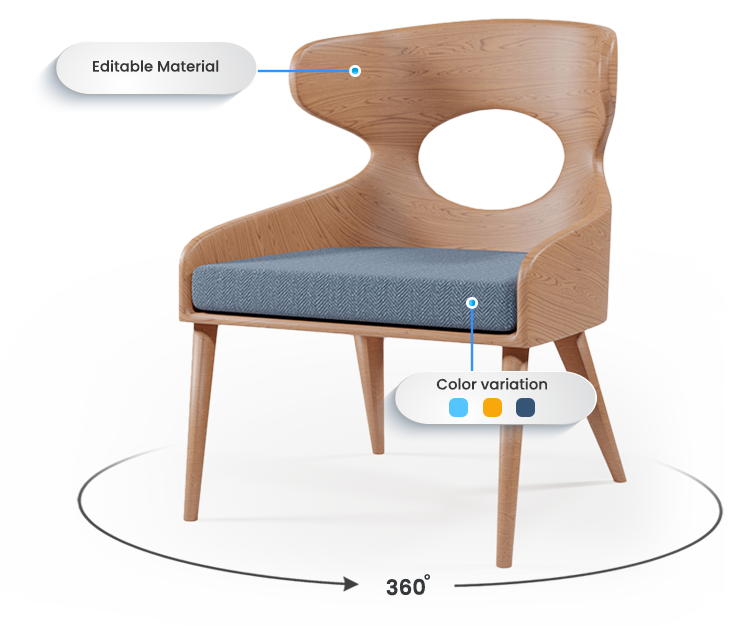
Refining the Model: Texturing, Scaling, and Adjustments
To get the intended outcome, the created 3D model might need to be refined. Typical duties consist of:
- Texturing: Adding pictures to the model’s exterior to give it a more realistic look.
- Scaling: Changing the model’s size to correspond to actual dimensions.
- Cleaning: Eliminating extraneous noise or artefacts from the model.
- Detailing: Adding or improving the model’s minute details.
- Topology optimization: enhancing the geometry of the model to enhance rendering or three-dimensional printing performance.
Exporting the Final Model for Various Applications
Once the 3D model meets your needs, you may export it in a number of file formats that are appropriate for distinct uses:
- 3D model formats: For usage with other 3D applications, such as OBJ, FBX, STL, etc.
- Image formats: Images that have been rendered for marketing materials or presentations.
- Interactive formats: For augmented reality experiences or web-based visualizations
Depending on how the 3D model will be used, the export format selection is important.
Conclusion
Thanks to technological breakthroughs, turning regular photos into amazing 3D models is now more feasible than ever. There are several advantages to this photogrammetric approach for a variety of sectors. Make 3D model from photos provide unmatched realism, intricacy, and efficiency for anything from product visualization and architectural design to gaming and movies.
It takes experience and experimenting to become an expert at make 3D model from photos. Investigate many methods, programs, and strategies without fear. Your outcomes will improve as you try more things. Recall that each endeavor presents a chance for learning.
Without a question, 3D modeling has a bright future ahead of it, and the incorporation of photography is leading the way in this development. We may anticipate ever more advanced and automated technologies to appear as technology develops, opening up the possibility of make 3D model from photos for a larger audience. The democratization of 3D creation will open up ground-breaking opportunities and creative uses in a variety of industries.
You’ve started down the path to utilizing 3D modeling by learning the principles of photogrammetry and taking the actions suggested in this tutorial. Accept the possibilities of this fascinating technology and unleash your imagination!
FAQ
How do I make 3D photos?
- Use a high-resolution camera, shoot in well-lit areas for the best results, and make 3D model from photos.
- Keep the thing stationary when photographing.
- Experiment with different angles and lighting to achieve distinct 3D effects.
- A tripod can assist keep your camera steady.
- If you’re utilizing photogrammetry, take as many shots as you can to capture the item from all perspectives.
How can I turn 2D images into 3D models?
Several methods exist for transforming 2D images into 3D models:
- AI-powered tools: Easy-to-use systems that turn 2D photographs into 3D models using artificial intelligence are available on websites like Meshy.ai and Pixcap.
- Photogrammetry software: To generate a 3D model, programs such as Meshroom and Agisoft PhotoScan combine many images of an object taken from various perspectives.
- Manual modeling: Blender and Autodesk 3DS Max are two programs that may be used to manually construct 3D forms and textures from 2D photos for more intricate or customized models.
Remember: The 2D image’s quality and the selected technique determine the 3D model’s quality. Use sharp, detailed photos with high quality for optimal results.
How do I make a 3D model from photos online?
AI-powered techniques may be used to turn photographs into 3D models from the internet.
These devices analyze and interpret many photos of the same thing taken from various perspectives using sophisticated algorithms. To create a 3D model, just add your images to the program.
Often used web resources for this purpose are:
- Meshy.ai
- Pixcap
Note: You may need to utilize specialized software such as Blender or Autodesk 3DS Max for more intricate or customized models.