
Traditional furniture photography can become expensive and slow when products need multiple finishes, angles, and updates.
How Furniture 3D Rendering Actually Works is more than turning a digital model into a realistic image. The process combines accurate modeling, realistic materials, controlled lighting, rendering, and post-production. Each stage affects the final result.
For marketing and e-commerce teams, understanding this workflow helps you judge quality, compare vendors, and plan production with fewer surprises. It also helps you understand what your team needs to provide before work begins.
In this guide, you will solve common buying challenges with:
- A clear breakdown of the furniture rendering process, from briefing to final image.
- Practical factors that affect quality, turnaround time, and 3D rendering cost.
- A buyer-focused comparison of 3D rendering, photography, render types, and project requirements.
This guide is built around the actual production workflow used to create professional furniture visuals. It also explains where 3D rendering works well and where traditional photography may still make more sense.
What Is Furniture 3D Rendering?
Furniture 3D rendering turns a digital furniture model into a realistic image or visual asset. It replaces many parts of a traditional photoshoot with a controlled digital workflow.
A 3D artist uses CAD files, drawings, measurements, photos, or physical references. The artist then creates the model, adds materials, sets lighting and cameras, renders the scene, and finishes the image.
The main advantage is control. A digital asset can support multiple views, colors, finishes, lifestyle scenes, and other outputs without rebuilding the physical setup.
What does a furniture 3D render contain?
A professional render usually combines the following:
- Accurate 3D geometry
- Correct proportions
- UV mapping
- Realistic PBR materials
- Product-specific lighting
- Camera composition
- High-resolution rendering
- Post-production
Software are matters, but it does not guarantee taking full quality. Modeling, materials, lighting, and quality control matter just as much.
Blender’s documentation confirms that materials control color, texture, and how light interacts with surfaces.
Buyer takeaway: Judge a rendering partner by its workflow and results, not just its software list.
How Does Furniture 3D Rendering Work?
The 3D furniture rendering process moves from product references to geometry, materials, lighting, rendering, and final correction.
A typical workflow has six main stages:
- Briefing and reference collection
- 3D furniture modeling
- UV mapping and texturing
- Materials and lighting
- Camera setup and rendering
- Post-production and quality control
Each stage affects the next. Poor geometry can affect materials. Poor lighting can make good materials look artificial.
A useful production framework is the following:
Reference → Geometry → Surface → Light → Camera → Render → Review → Delivery
What happens at each stage?
| Stage | Main Objective | Buyer Should Check |
| Briefing | Define product and output needs | Are references complete? |
| Modeling | Build accurate geometry | Are proportions correct? |
| UV/Texturing | Position surface details | Is texture aligned? |
| Materials | Recreate surface behavior | Is the finish realistic? |
| Lighting | Shape the visual appearance | Are shadows natural? |
| Camera | Control composition | Are views consistent? |
| Rendering | Generate final image | Is quality appropriate? |
| Post-production | Final refinement | Does it match the brief? |
The Furniture 3D Rendering Process, Step by Step
1. Briefing and Reference Collection
The furniture rendering process starts with accurate product information.
The team needs to know what you are selling, where the visuals will appear, and what the final images should show. For better understanding, you should provide a reference.
A strong brief includes:
- CAD files or technical drawings
- Exact dimensions
- Material and finish details
- Product photos
- Physical samples when available
- Camera angles
- Image sizes and formats
- Brand guidelines
- Lifestyle references
- Product variants
Better references reduce guesswork and revisions.
The buyer’s briefing checklist
- Dimensions are final
- CAD files are available
- Materials are clearly identified
- Product photos are included
- Camera angles are defined
- Output requirements are clear
- Variants are listed
- Brand references are attached
Production gotcha: Conflicting references can create costly revisions. Always confirm which file represents the final product.
2. 3D Furniture Modeling
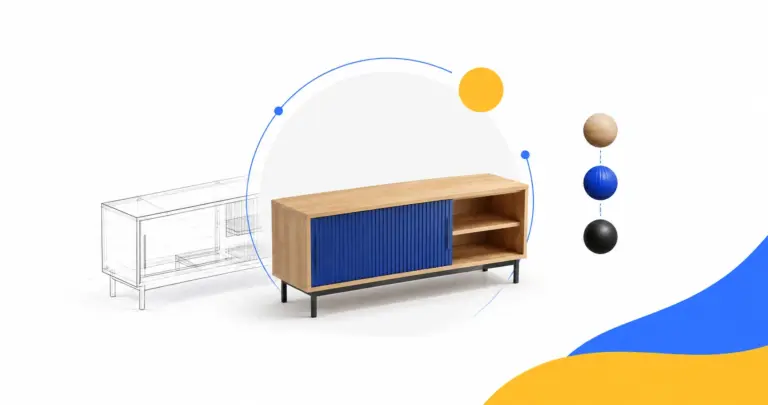
3D furniture modeling converts product references into accurate digital geometry.
The artist recreates the product’s important physical characteristics.
These may include:
- Leg angles and curves
- Frame profiles
- Cushion thickness
- Seams and stitching
- Handles and hardware
- Joinery
- Edge details
The 3D furniture modeling process creates the foundation for the entire render.
A small proportion error can become obvious in close-ups or multiple camera angles.
Modeling quality-control checklist
- Dimensions match references
- Proportions are accurate
- Curves and profiles are correct
- Seams and stitching are accurate
- Hardware is correctly positioned
- Geometry is clean
- Variants can reuse the base model
Production gotcha: Do not model every tiny detail automatically. Model details that affect the final camera view.
3. UV Mapping, Texturing, and PBR Materials
Texturing gives the furniture its surface character and realistic light response.
UV mapping controls how a 2D texture is placed across the 3D model.
This matters for furniture because wood grain, fabric patterns, and other surfaces need the correct direction and scale.
Blender explains that materials define an object’s color, texture, and interaction with light.
What are PBR materials?
PBR means physically based rendering.
PBR materials are designed to represent realistic surface behavior.
They may control:
- Base color
- Roughness
- Metallic response
- Bump or normal detail
- Displacement
- Opacity
For furniture, the material must behave like the real material.
Velvet should not reflect like metal. Matte oak should not behave like glass.
Material review checklist
- The texture scale is realistic
- Wood grain follows the product
- Fabric patterns are aligned
- Roughness matches the finish
- Reflections are controlled
- Bump detail is subtle
- Colors match references
Production gotcha: More texture detail does not always mean more realism. An incorrect scale or excessive bump can make materials look artificial.
4. Lighting
Lighting controls how the furniture’s shape and materials appear in the final image.
Artists may use:
- HDRI environments
- Area lights
- Softboxes
- Sun and sky systems
- Custom studio lighting
A white-background product image usually needs controlled studio lighting. A lifestyle scene needs lighting that fits the environment.
Lighting checklist
- Product shape is clear
- Shadows look natural
- Highlights are controlled
- Reflective surfaces are balanced
- Product colors remain accurate
- Lighting is consistent across SKUs
Production gotcha: A dramatic lighting setup may look good in a portfolio but create inconsistency across a large catalog.
For e-commerce, consistency usually matters more.
5. Camera Setup and Composition
Camera setup determines how the furniture appears from the viewer’s perspective.
The artist controls:
- Camera position
- Height
- Focal length
- Perspective
- Product orientation
- Framing
- Crop
- Depth of field
Blender’s documentation confirms that the camera determines which part of the scene appears in the rendered image, while focal length affects the field of view.
For e-commerce, consistent camera standards are especially important.
Buyer checklist for camera consistency
- Required angles are defined
- Camera height is consistent
- Product scale is consistent
- Perspective is appropriate
- Cropping follows brand standards
- Important details remain visible
Production gotcha: Terms like “front view” can mean different things to different artists. Use visual references or camera standards.
6. Rendering
Rendering turns the completed 3D scene into the final image.
The render engine calculates how geometry, materials, lights, reflections, shadows, and the environment interact.
Common workflows use engines such as V-Ray, Corona, or Cycles.
Rendering checklist
- Resolution is defined
- File format is correct
- Color management is consistent
- Noise and artifacts are controlled
- Materials remain accurate
- Shadows are clean
- Camera matches approval
Production gotcha: Higher render settings cannot fix bad modeling, materials, or lighting.
The scene needs to be correct before increasing render quality.
7. Post-Production and Quality Control
Post-production prepares the rendered image for final delivery.
The artist may adjust the following:
- Color
- Contrast
- Exposure
- Shadows
- Highlights
- Background
- Reflections
- Composition
- Minor imperfections
The goal is refinement, not changing the product.
A practical QC framework
Product accuracy
- Does it match the approved design?
- Are proportions correct?
- Are materials accurate?
Visual quality
- Are shadows realistic?
- Are textures believable?
- Are rendering artifacts removed?
Brand consistency
- Does it follow brand standards?
- Is the camera consistent?
- Does the background match?
Technical delivery
- Correct dimensions
- Correct format
- Correct naming
- Correct resolution
This quality-control process is especially important for outsourced or white-label 3D furniture production.
Why Do Some Furniture Renders Look Real and Others Look Fake?
Photorealistic furniture rendering depends mainly on geometry, materials, lighting, and camera work.
Expensive software alone does not create realism.
1. Geometry must be accurate
The eye quickly notices incorrect proportions.
A wrong cushion depth or leg angle can make furniture feel unrealistic.
2. Materials must behave correctly
Realistic materials need the right:
- Texture
- Scale
- Roughness
- Reflection
- Bump
- Grain direction
3. Lighting must support the product
Lighting should reveal the furniture without distracting from it.
4. Camera perspective must feel natural
Extreme perspectives can make furniture appear unusually large or small.
How to evaluate a rendering studio
- Fabric texture
- Wood grain
- Cushion proportions
- Edge details
- Metal reflections
- Shadow softness
- Camera consistency
- Product accuracy
Expert buyer tip: Ask to see multiple views of the same asset. One hero image can hide modeling problems.
What Do You Need to Provide for an Accurate Furniture Render?
Accurate source information is essential for accurate rendering.
A studio cannot reliably recreate product details that are missing from the brief.
Minimum project package
- CAD files
- Technical drawings
- Product dimensions
- Product photos
- Material references
- Finish specifications
- Brand guidelines
- Camera requirements
- Output requirements
A complete brief reduces uncertainty, questions, and revisions.
Source-file readiness checklist
- Final CAD version
- Correct dimensions
- Approved materials
- Material references
- Product photos
- Variant list
- Camera requirements
- Output requirements
- Revision process
Production gotcha: Do not begin large-scale production before approving a first model and material setup.
A pilot asset can expose problems before they spread across hundreds of SKUs.
What Types of Furniture Renders Can You Produce?
Different furniture renders support different marketing and e-commerce needs.
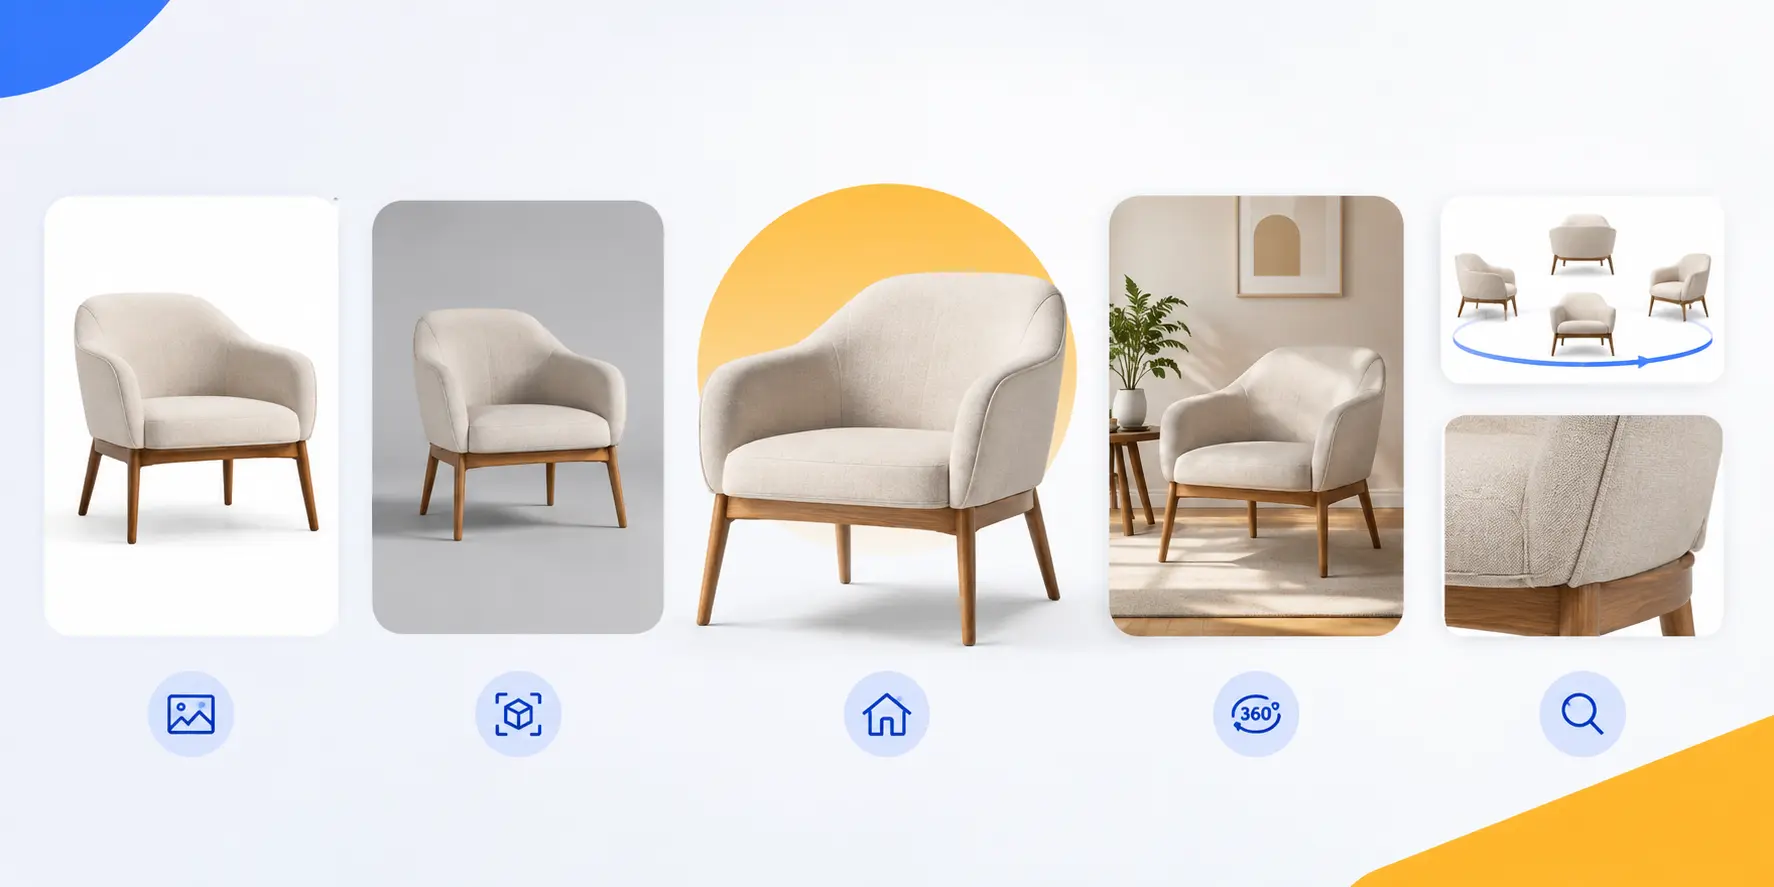
| Render Type | Best Use | Main Consideration |
| Silo / Packshot | Product pages, catalogs | Consistency |
| Lifestyle Scene | Campaigns | More scene work |
| Multiple Angles | Product pages | Camera planning |
| 360-Degree View | Interactive shopping | Consistent views |
| Animation | Ads and launches | Higher production effort |
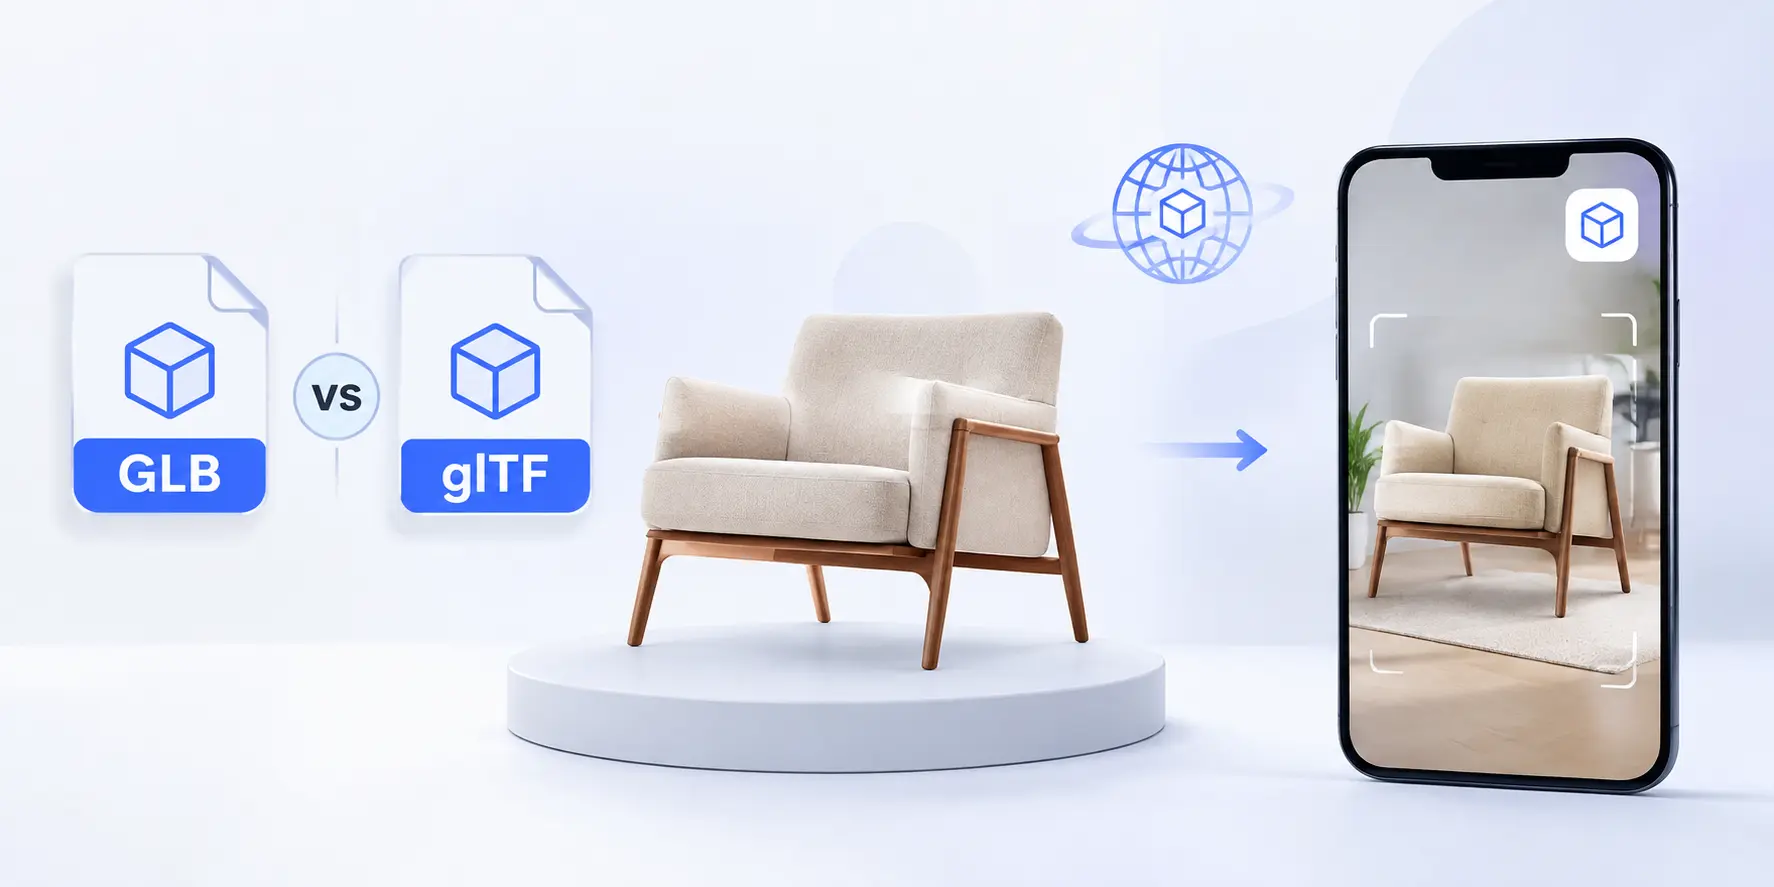
| AR-Ready Model | In-room visualization | Model optimization |
| Configurator Asset | Product customization | Variant management |
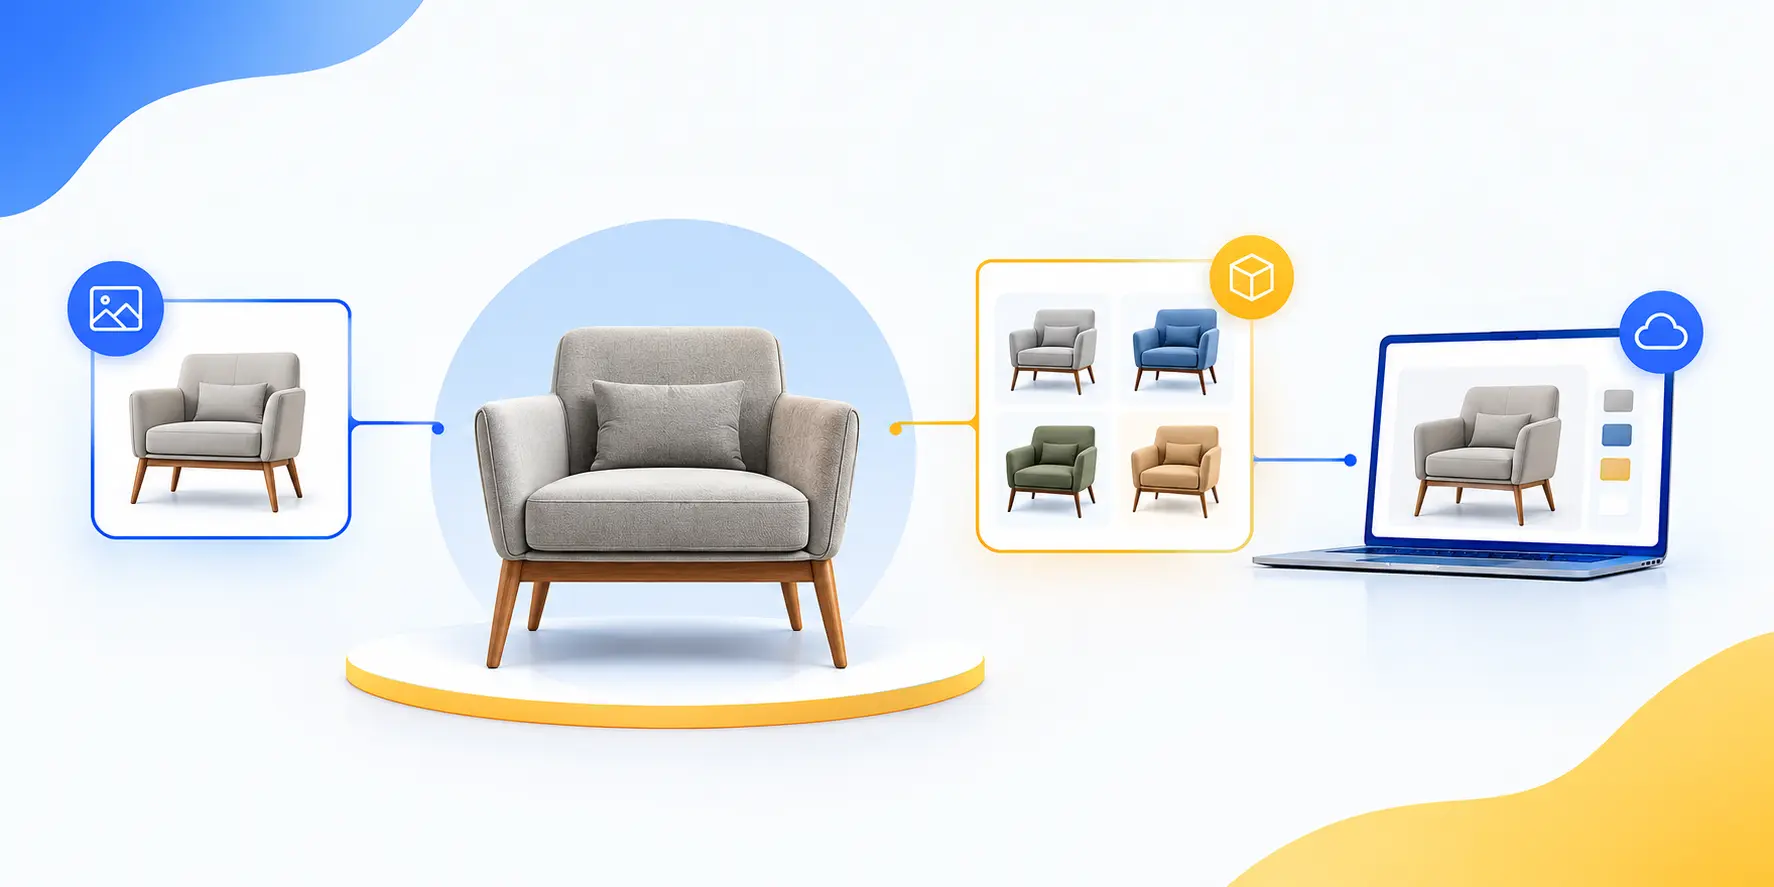
| Material Variants | Catalogs | Reusable base model |
The biggest advantage is asset reuse.
One approved furniture model can support multiple colors, finishes, camera angles, lifestyle scenes, and interactive outputs.
For a furniture brand, that turns a 3D asset into a reusable production resource.
How Long Does Furniture 3D Rendering Take?
Turnaround depends on product complexity, output type, source quality, and revisions.
| Render Type | General Working Range |
| Simple pack shot | 2–4 working days |
| Lifestyle scene | 5–10 working days |
| Animation | 2–4 weeks |
These are planning ranges, not fixed deadlines.
Projects can take longer when:
- CAD files are incomplete
- Materials are unclear
- Variants increase
- Camera requirements change
- Stakeholders add revisions
- Lifestyle scenes require more work
A better way to estimate production
Packshot:
Model → Material → Lighting → Camera → Render → QC
Lifestyle:
Model → Material → Environment → Lighting → Camera → Render → Post → QC
The second workflow naturally requires more production work.
Production gotcha: Compare the scope behind a quote, not only the per-image price.
3D Furniture Rendering vs. Product Photography
3D rendering is highly flexible for catalogs and variants, while photography remains useful for physical products and selected campaigns.
| Factor | 3D Rendering | Product Photography |
| Physical prototype | Not always required | Usually required |
| Product variations | Highly flexible | Often requires reshoots |
| Camera changes | Digital | New setup |
| Material changes | Digital update | Usually reshoot |
| Lifestyle scenes | Digital | Physical setup |
| Catalog scaling | Strong | More demanding |
| Initial modeling | Required | Not required |
| Asset reuse | Strong | More limited |
For large catalogs and frequent product changes, 3D can provide greater flexibility.
For one physical product and one image, photography may be simpler.
A hybrid workflow can also work well. Brands can use photography for selected campaigns and 3D for catalogs, variants, and digital experiences.
The right question is not whether 3D should replace photography.
It is which workflow fits each product and output.
Where Does 3D Furniture Rendering Fall Short?
3D rendering is flexible, but it is not the best solution for every project.
Highly complex natural materials
Unusual wood, stone, fabric, or reflective materials may require more reference work.
Poor source information
Outdated CAD files or incomplete specifications can produce an inaccurate final render.
Small one-off projects
For one image of an existing physical product, photography may sometimes be more efficient.
Very specific physical effects
Some handmade imperfections, complex reflections, or natural surface variations can take more work to reproduce convincingly.
Buyer checklist
- How many images are required?
- How many variants are needed?
- Will the model be reused?
- Are materials complex?
- Are lifestyle scenes required?
- Will the asset support AR or configurators?
The more ways you reuse the asset, the stronger the business case for 3D becomes.
What Affects the Cost of Furniture 3D Rendering?
Furniture 3D rendering cost depends on complexity, not just image count.
Key factors include:
- Modeling and materials
- Views and variants
- Lifestyle scenes
- Animation or 360° output
- Revisions
- Source-file quality
Tip: Define your SKUs, variants, views, outputs, and revision rounds upfront to avoid unexpected costs.
Gotcha: A low quote can become expensive when revisions and variants are charged separately.
How Should You Evaluate a Furniture 3D Rendering Partner?
Evaluate the production system, not only the portfolio.
A portfolio shows visual quality. It does not always show whether a studio can handle hundreds of SKUs.
Evaluate five areas:
1. Modeling accuracy
Can the team work accurately from CAD and technical references?
2. Material expertise
Check fabric, wood, leather, metal, glass, and surface details.
3. Production consistency
Review several products from the same project.
4. Revision process
Ask how feedback, approvals, and revisions are managed.
5. Scalability
Check whether the partner can handle:
- Multiple SKUs
- Multiple variants
- Recurring production
- White-label workflows
- NDA requirements
- Batch delivery
- Long-term asset reuse
For brands, agencies, SaaS platforms, and BPO teams, this matters more than a single impressive image.
A furniture visualization partner should fit into your existing production system rather than create another management layer.
Frequently Asked Questions About Furniture 3D Rendering
Q: How much does furniture 3D rendering cost?
It depends on modeling, materials, views, scenes, variants, and revisions.
A simple packshot should not be priced like a multi-variant lifestyle project.
Q: How long does a furniture render take?
A simple packshot may take 2–4 working days, while lifestyle scenes may take 5–10 working days. Animation can take longer.
Source quality and revision volume affect the final schedule.
Q: What files do I need to provide?
Provide CAD files, technical drawings, accurate dimensions, product photos, material references, and required views.
Physical samples can help with difficult materials.
Q: Can a 3D render match my real furniture?
Yes, when the source information and production workflow are accurate.
Geometry, dimensions, materials, finishes, lighting, and camera perspective all matter.
Q: Is 3D rendering cheaper than product photography?
It depends on the project.
Photography may work better for one physical product. 3D can become more scalable for large catalogs, variants, and repeated updates.
Q: What software is used for furniture 3D rendering?
Common tools include 3ds Max, Blender, Rhino, V-Ray, Corona, and Cycles.
Software matters, but the artist’s modeling, material, lighting, and quality-control skills matter just as much.
Final Thoughts: Is Furniture 3D Rendering Right for Your Business?
Furniture 3D rendering is ideal when you need accurate visuals for multiple products, variants, and channels.
It works especially well for:
- Large catalogs
- Multiple finishes and variants
- Frequent product updates
- Lifestyle scenes and interactive 3D
- 360° views and configurators
A well-built 3D asset can be reused across product pages, catalogs, ads, animations, and AR experiences.
If you need scalable furniture visuals, prepare your CAD files, materials, and required views, then compare partners based on quality, timeline, and cost.
Want to see the quality first? Get a free test render from Orbe3D.